Showing posts with label #makeitmonday. Show all posts

February 12, 2024

It's Make It Monday! How to craft without buying a single supply.

Did you know you can make customized products on Zazzle? I've toyed with it on and off, don't fully grasp how it works, but have made passive income every year since 2018. For 2023, the sent me a check for $50 which cost me $80 to report on my taxes. But, hey, it's fun and I get to make stuff without buying a single craft supply. So worth it.

What is "passive income" you ask? Bottom line, after your create a design and start selling it, you earn royalties and get paid without having to do anything else. No packaging, no printing packing lists or labels, no trips to the post office. Zazzle does all that for you. 

My Bee Merry, Bee Golden, and customizable beekeeper photo holiday cards are my biggest sellers, but here are a few of my favorite items for the rest of the year. I especially love my pillow, which is a two-sided design that you can get in cotton, poly, or even outdoor material. There's probably a Zazzle-way to flip the pillow, but until I find it you'll have to click though to see the other side. Hope you like it as much as I do!

The thing I like most about Zazzle is being able to transfer a design to another product in mere seconds. Say you like the crowned queen bee design but you want it on a phone case instead. Easy peasy! Just click on "Transfer design to a product" and pick the product you need. Choosing from over 1,000 products is the hard part.

I put together a collection to give you ideas. Have fun!

And here's what I'm getting for Valentine's Day and my Mom is getting for Mother's Day!

February 05, 2024

PastryMade Rolling Pins: 5 Tips to Roll with the Best!

If you're wondering if PastryMade's rolling pins are worth the splurge, they are! The designs are laser-etched deeply to give you great results. There are dozens to choose from, and several are bee-themed. I bought Honeycomb, Morning Birds, and my third pin (not shown) is the Stand with Ukraine one, which literally supports families in the Ukraine.

Their butter cookie recipe (below) makes a really nice cookie that's not particularly sweet but not particularly rich either. Tender crisp, they are perfect with a cup of tea. The recipe is super easy, but here are some tips to help you get the best results from your specialty pins.

Tip #1: the Regular size is more than adequate, no need to spend another $10 for the Big rolling pin.

Tip #2: use spoon butter to prep your pins

Tip #3: a Silpat will give you the classic, blonde shortbread cookie look

Tip #4: rice flour gives you a nonstick work surface and tender reworked dough

Tip #5: clean the grooves with a toothbrush for perfect impressions time and time again.

These fall somewhere between a sugar cookie and a classic shortbread. 

Butter cookies made with the Honeycomb Rolling Pin.

I've made these with Irish butter and supermarket butter, and it doesn't make a huge difference. You can even use salted butter if that's what you've got. With the exception of needing to use a scale, it's a very forgiving recipe. The volume measurements (in parentheses) are close approximations.

Morning Birds, bottoms dipped in chocolate. A little bottom browning helps balance the flavors.

The recipe makes about 60 cookies. I can fit two dozen on a half-sheet and bake two sheets at a time, so the time spent actually baking is short. It's a good idea to bake one tray to start, to determine if you need to adjust your oven temperature up or down.

With the oven at the right temperature, baked cookies won't look much different from unbaked ones.

I bake at 350°F when using Super Parchment (top tray above), which tends to bottom brown the cookies, whereas Silpat (bottom tray above) isn't prone to that. I prefer my shortbreads blonde, but color = flavor so go for it if that's what you like. 

The recipe makes about 60 cookies.

PASTRYMADE BUTTER COOKIES

butter 200g / 7.05 oz. (14 Tbsp.)
1 egg
2 T. olive oil (I prefer something neutral, like avocado oil)
pinch of salt
flour 400g / 14.1 oz. (shy 3¼ cups)
icing (powdered) sugar 150g / 5.25 oz. (1 c.)

It doesn't get any easier than this! Place all (room temperature) ingredients in the bowl of a mixer fitted with the paddle attachment. Mix until thoroughly combined. Roll, cut, bake.

Ready for the TMI?

Rest the dough in the fridge while you prep your rolling pin(s). I don't like the idea of using oil, which will eventually go rancid. Instead, I recommend treating it with spoon butter, which is more durable and won't need to be repeated as often. Use a manual toothbrush to really work it into the engraved details. The warmth of your hands can help it penetrate the wood.

Working with half the dough, use a regular rolling pin and roll to a thickness somewhere between - and ¼-inch. Lightly dusting your work surface and the dough with rice flour will help you get the best impression from your engraved pin. Rice flour has no gluten so won't toughen up your cookies even after rerolling the scraps.

Though the pins spin nicely on their handles, I find that using them requires a slight forward push which stretches and tears the dough. Not using the handles, treating it like a French pin, works better for me. Use more downward pressure than forward pressure (though I suppose you could start from the far edge and roll toward yourself). For evenly thick cookies start to finish, make a mental note of how the downward pressure feels. The dough expands forward as it's manipulated by a small amount, but there is no stretching (so there's no rebound and your cookies keep their shape as they bake). If the impression isn't as intense as you'd hoped, you can flip the dough over and try again if it's thick enough. I probably do it 50% of the time.

My favorite cutters are a fluted 38mm/1½" and 48mm/1". Since the cookies don't expand, I place them practically touching each other on a lined half-sheet. Silpat are ideal. Super Parchment is a less expensive sustainable option. Parchment paper, especially the thin cheap kind, can get wavy as the dough releases moisture, producing cookies that aren't flat. Gather the scraps, reroll and cut until you run out of dough. You'll roll out the other half of the dough while the first batch bakes.

Clean the pin with the toothbrush if the dough starts sticking (and when you're done for the day). To help the pattern be most visible, PastryMade recommends chilling the sheet of cookies for 20-30 minutes but I don't bother. While the oven preheats and by the time I've loaded up two cookie sheets, they've rested plenty.

The original recipe says to bake at 200°, which I didn't realize was Celsius until several minutes after they were supposed to be done baking, they just looked wet and raw. Converted that's 392°F but I find it too hot. It makes the cookies puff up so the design gets stretched and muted, plus the cookies don't bake through evenly. At lower temperatures, the cookies don't budge, so the design stays crisp and the bottom is evenly golden. As with all cookies, if you don't see them at least starting to turn gold on the edges, you run the risk of the cookies tasting flour-y and being a little chewy (underbaked). You can bake multiple trays at a time, rotating and swapping trays midway. Depending on how thick your cookies are, bake for 9-15" per batch. Transfer the cookies to a cooling rack and repeat with the other half of the dough.

These cookies taste like a lightly sweet, classic shortbread. A trio of them is a good accompaniment to a cup of tea any day.

BONUS TIPS for making it to the bottom of this post!

#1: No Pressure! the Buy 2 Get 1 promotion is perpetual, despite PastryMade's constant ads (and website) saying Only Today. Try THANKS10 for 10% off your order.

#2: Use milk chocolate if you're decorating the cookies; their delicately flavor is overwhelmed by dark chocolate.

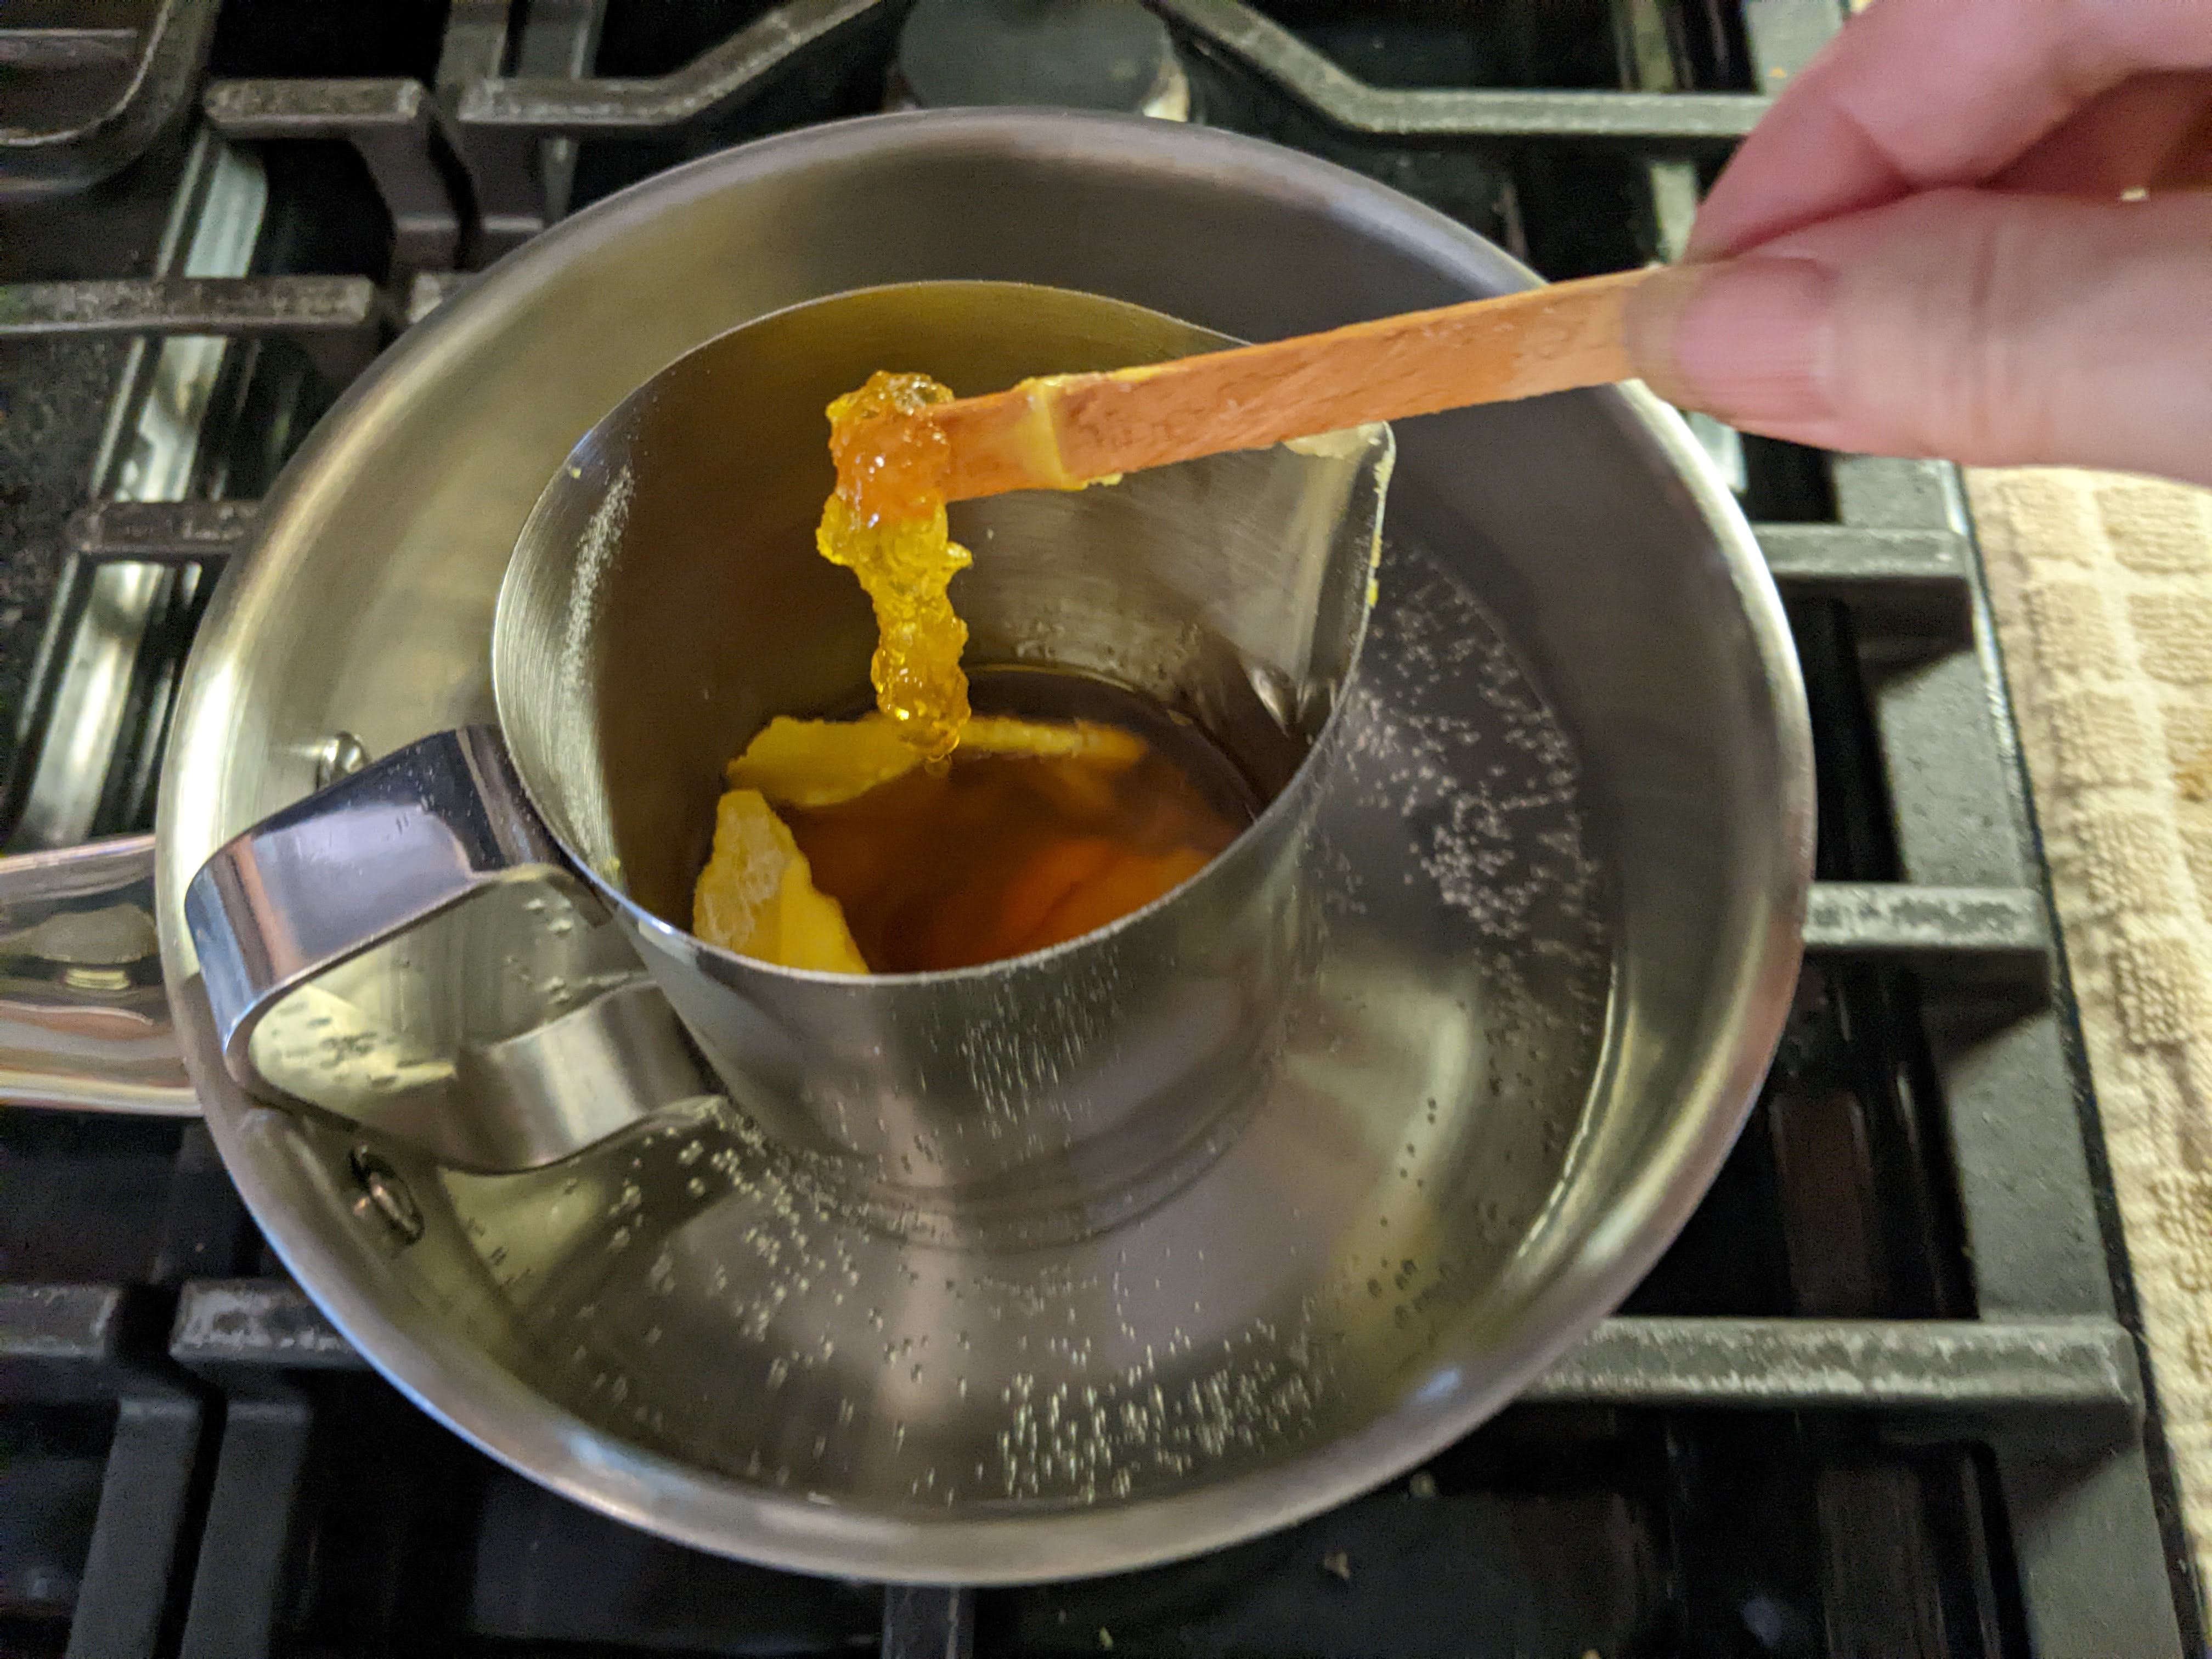
#3: Scraping seeds from half a vanilla bean gives these simple cookies a greater depth of flavor.

Let me know if you make these cookies, and if you used a fancy rolling pin! 

November 20, 2023

Beeswax Wraps & 3 DIY tips that work!

DIY beeswax wraps that work! A 5" wrap covers a Oui jar perfectly. A 7" wrap is more than ample for an 8-ounce ramekin.
Determined to make a substitute for plastic cling wrap and foil, today's post is on things I learned from making beeswax wraps. In case you've got the crazy idea to make your own, too, I hope I can save you some trouble.

Tip #1: Wraps made with pure beeswax alone are brittle and don't cling at all. If you're a beekeeper with a Warré Hive, they are fantastic between the top bars and quilt!

Tip #2: A little oil provides flexibility, so your wraps bend without cracking. Think of a wax/oil version as a foil substitute. It's bendy and holds its shape but doesn't make an airtight seal. Stay away from cooking oils with short shelf lives. I like meadowfoam, which is a North American native wildflower. It has a longer shelf life than jojoba oil, and I can use a tad less oil.

Tip #3: Resin is what puts the cling in DIY cling wrap. If you're wondering about using propolis, the resin-like substance made by bees, at the amount needed to create cling it imparts a strong odor and bitter taste to wrapped items. And I mean really bitter. Invest in pine resin in powder form; chunk form takes too long to melt, which degrades your wax/oil. A 1-pound bag of pine resin will make about 12 dozen wraps. (If you find a smaller bag for less than $15, please let me know!)

If you're ready to embark on making your own, my formulation makes an extra sticky blend for beeswax wraps that actually work! I'm providing volume measurements for convenience but, especially if small-batch crafting, I highly recommend a quality digital scale like a MyWeigh, which is accurate to a tenth of a gram.

DIY Beeswax Wraps Recipe

Makes ~(5) 12"x12" wraps.

60 g. beeswax (about 1/2 c. pastilles)
20 g. pine resin (about 2 1/2 Tbsp.)
12 g. jojoba (1 Tbsp) oil

Melt everything together using a water bath, stirring until completely blended. I use a milk frothing pitcher set in a small sauce pot over medium heat, and it takes about 15-20 minutes to make sure the resin is completely dissolved. The resin sinks to the bottom, so you'll know it's fully dissolved when you don't feel your stirring tool dragging anymore. Double-check that there aren't globs stuck to your stirrer, though.

Resin needs a good amount of heat to melt. Maintain a simmer.
Instead of brushing the liquid mixture onto fabric, I pour it thinly into molds. Once set, I pop out a few wafers and iron them into fabric that's in-between pieces of parchment paper. You want to barely saturate the fabric, but if you put on too much just use the iron to push the excess out past the fabric edges (but still inside the parchment sheets). Using the next piece of fabric to absorb it, it's almost zero waste and cleanup is a breeze. This is especially why I love the wafer/iron method.

A "cake mold" like this one is about $9 on Amazon. Clean each well with a cotton swab and rubbing alcohol for a polished finished piece.

Beeswax Wraps Wafers

Quick to melt, three wafers will treat a large piece of tight-weave fabric. My first beeswax wraps were made out of an old but high-quality cotton percale pillowcase, upcycling at its best. An economical option is remnants at your local fabric store (mine is Joann), or buy quilting squares or fat quarters are cute and fun.

I prefer to wax my fabric first and cut it to size afterward, which minimizes fraying.
Use a rotary cutter or pinking shears if you have them. Either will reduce fraying but you'll always have loose threads…don't pull them! You can hem the edges if you're sewing the fabric into a baggie.
It's easy to pinch pieces off the wafers, to ensure even coverage. You move the pools of wax with your iron so you don't have to be perfect or precise. (Be sure to place a piece of parchment paper underneath and on top.)

Because my friends say things like, "You should sell these on Etsy," you can buy my Beeswax Wraps Waxing Wafers, four for $4.

etsy.com/shop/BackyardBeeHiveDIY beeswax wraps waxing wafers, premixed

If you'd rather not spend $15 for resin and make 144 wraps, then these ready-to-use waxing wafers are for you! If you have year-old wraps that have lost their stickiness and need a refresh, these waxing wafers are for you! Or if you have beeswax wraps that weren't sticky enough in the first place, these waxing wafers are for you!

My Beeswax Wraps Waxing Wafers are four for $4 (plus cost to mail). Four wafers will make up to nine (9) wraps with plenty leftover for touch-ups. Depending on how you cut it, from one quilting square you can make:

  • three 7x7" (small) and two 10x13" (medium) wraps
  • 3 small, (1) 7x13" (rectangular medium), and (1) 13x13" (large) wrap
  • 3 small and 1 extra-large 13x20" wrap (perfect for covering a lasagna pan with handles)

Remember, you're not limited to squares or rectangles. I find rounds to be the most versatile. The cast-offs make terrific fire starters, and I mean terrific. 🔥 Or don't cut the quilting square at all, and sew it into a plastic-free baggie. The possibilities are endless. 

DIY Beeswax Wraps Waxing Wafers

BONUS TIP for making it to the end of this post: Making DIY, and indeed using, beeswax wraps is messy business. Rubbing alcohol will clean up drips and smudges, and hand sanitizer is your skin's best friend.

August 22, 2016

Make It Monday: DIY Citronella Candles


I wrote this How To post last summer as a guest blogger for Børn Shoes and, with Zika in the news, thought you might like to see an unbranded, updated with tips, version of it.

Make Your Own Citronella Candles

47 days in the 90's… and counting… Summer been hot enough for you? It's been shorts and sandals season for months but what to do about those pesky mosquitos? Making homemade citronella candles part of your natural solution is as easy as 1-2-3. Melt-Pour-Light. OK, it's a little more complicated than that, but not much. Ready to make your own? Here's how.

WHAT YOU’LL NEED
8 oz. beeswax (here's the good stuff)
citronella essential oil (cedar, eucalyptus, lavender, lemon balm, or peppermint oil can also be used)
2/0 square braided wick and wick tab
chopsticks – the take-out kind, still connected at the top
8 oz. jar or metal container
melting pitcher with spout (must be able to sit in a pot of hot water)
small pot of hot water
scissors
skewer
NOTE: You can use different sized jars, or even a metal container, for your candles. Just have one ounce of wax for every ounce your container will hold, and make sure it is no more than 3” in diameter.
PUTTING IT TOGETHER
1 Prepare the Wax: Melt the wax in a container that has a pouring spout, set in a pot of barely simmering water. Use low heat and caution: molten wax is highly flammable. Keep warm in the double boiler as you prepare the wick.
 
2 Prepare the Wick: For candles up to 3” in diameter, you’ll want to use a 2/0 square braided wick. It’s the best type for beeswax candles. Cut a piece about 1” longer than your container is high, and dip the whole length into the melted wax to “prime” it. Wipe off the excess then attach a wick tab to one end. Slip the other end of the wick between the chopsticks. Position the wick in the jar, sliding it up or down between the chopsticks so it is centered and straight. TIP: You can tie the wick around a skewer or pencil but the chopsticks make adjusting the wick so much easier.
TIP: The smaller the pieces of wax, the faster it will melt.
I used a plastic pitcher so you could see the melted wax. Feel free to use a metal pitcher, which holds heat and will give you a little more working time.

3 Pour the Candle: Thoroughly stir 8 drops or so of the citronella oil into the hot wax. Pour just enough wax into the jar to cover the wick tab. Working quickly, use a skewer to adjust the wick’s position as necessary. Let harden to secure the position. Rewarm the pitcher of wax if necessary and pour to fill your container. Let harden undisturbed then trim the wick with scissors to about 1/4-inch. TIP: lay coffee filters or newspaper on your work surface for easy cleanup.

To light the candle the first time, place a lighted match near the base of the wick. This will melt some wax that the wick can draw up for a good flame, strong enough to take on a summer breeze. A candle this size will burn for many hours. To extinguish it, you simply close the lid to snuff out the flame.

Make sure to use tempered glass or metal containers for your candles, for fire safety. I used a vintage Le Parfait jar, available at Fante’s, a Philadelphia mecca for cooks since 1906.

A QUICK NOTE ON BEESWAX
Since most of my readers are beekeepers, you'll likely be using your own harvested wax. Make sure to clean your wax as clean as clean can be. Wet process first to remove honey, then process again through an extremely fine filter to remove all impurities. Don't use cheesecloth. It will contribute cotton fibers that will cause your candles to sputter and smoke.

March 28, 2016

#makeitmonday: Spoon Butter

I traded my extra tomato seedlings and ALL my mason jars — HURRAY — for some beeswax. It's pretty rough, having only been rendered from the comb. I'm 99% sure this wax was processed through a solar wax melter but the beekeeper's method differs from mine. Mine comes out cleaner ;)

At the moment, it's too wintry to use the solar wax melter, but I've got a project I want to do now, so I'm using a lined crock pot to melt and clean the wax. The pot has a couple of inches of hot water in it, so trapped honey can dissolve out. Bits of brood comb are too light to sink, so don't expect them to precipitate out. At best, they'll be at the bottom of the block where they can be scraped off. I'm adding only about a pound of wax, in chunks, to the pot. The goal is to melt an amount that, when cool, is manageable. Most recipes call for pretty small amounts, and if you're serious about crafting, it helps to have a digital scale that measures in grams.

Reynolds liners are awesome, because you can still use your crockpot for cooking food afterwards.

Spoon Butter

If you have butcher block in your kitchen, use a wood cutting board or wooden spoons, then you need spoon butter. Also known as wood cream, wood wax and board butter, it will lengthen the life or all your pieces by hydrating the wood fibers and providing a protective coating. It takes just two ingredients to make spoon butter: beeswax and a carrier oil. And you can make it in under a half-hour.

The wooden spoon is from World Market.
I am a ServSafe® certified chef and have a kitchen philosophy that goes something like this. It's okay for me to kill me, but it's not okay for me to kill you. Safety first. A lot of DIYers use food-grade mineral oil (and then sell 2-ounce jars of spoon butter for $6). There's some hub-bub about FGMO but I really don't have the inclination to find out what the controversy is. I'm just showing you the technique, really. When you make yours, please educate yourself on the ingredients and use what you are comfortable with. If you're going to make spoon butter to sell, just remember: When it comes to your customers, it's okay for you to kill you, but it's not okay for you to kill someone else. Always safety first. 

If I had it, I would use fractionated coconut oil. It is a liquid form of coconut oil that is extremely stable (doesn't go rancid). My bottle of sweet almond oil was down to the dregs, the perfect amount for this demonstration. Normally odorless, it was at the end of it's useful life and needed to be used, which is alright because I'm not selling it and it's okay for me to kill me. For a butterlike consistency, a good ratio is 1:3.5 by weight, beeswax to carrier oil. Use less oil, just 1:2, and you can put it in a twist-up container. Handy! You can also use 76° coconut oil, trés trendy, in which case a good ratio is 1 part beeswax to 3 parts oil (use a scale). When I do get my hands on fractionated coconut oil, I'll show you how to a lotion-like wood cream.

I love how the beeswax gives the water white almond oil a golden glow.
For small-batch production, heat the ingredients directly in the jar, set in a pan of simmering water. Stir to distribute the beeswax evenly. When completely melted, remove from the water bath. Do not remove earlier thinking you can heat the oil less and let carryover heat finish melting the wax. Yes, heat speeds up rancidity but, especially with a small jar like this, there may not be enough thermal mass to do the job. Beeswax melts at about 145°F and it needs to be melted completely to ensure it is evenly dispersed.


When fully liquid, it's definitely too hot to add any essential oils, which are optional. Rather than by aroma, choose an oil that provides antibacterial, antiseptic or antimicrobial properties. Orange oil is popular, as it's an antibacterial, antifungal and smells great, but it is delicate and volatilizes at 153°F/67°C. If you don't have an instant read thermometer, a visual gauge for when it's safe to add your EOs is when you see the bottom start to set. (If you're making a larger batch in a heatproof pitcher to pour into several individual containers, wait until the edge of the mixture starts to set before stirring in the EO then pour immediately.) Work quickly to ensure the EO is evenly distributed before the butter sets.


To use, rub a small amount of spoon butter into the wood. Some people use a soft cloth but I like to use a nitrile glove. The warmth from your hand helps the butter penetrate better, and it's 100% lint-free. Dry ashen wooden will darken in color, and take on a little shine. It's not necessary to treat the entire handle of your spoons. I actually prefer the grippy feel of dry thirsty wood, but it's good to treat at least a few inches up from the bowl, any part that gets submerged in hot liquids. Let the spoons sit for a few hours, a warm spot will encourage deep hydration, then buff away any residual butter. The next time you use your spoons/cutting boards/butcher block, you'll find them water-repellent and just a pleasure to cook with.

Available in my Etsy shop.
www.etsy.com/listing/265525114/pure-beeswax-sunflowers-and-queen-bee

January 13, 2014

Honey Dulce de Leche: Milk and Honey Caramel Sauce

This recipe is very American. It calls for a jar, a can, and a stick.
A photo posted by BBHB (@backyardbee) on


Bring to a boil in a heavy-sided pot (3-qt minimum size):
1 jar of honey (a 1# Queenline is 11 oz. by volume)
1 can of evaporated milk (a big 12 oz. can, not the little one)
1 stick of butter (that's 1/2 c.)

Bring to a boil over medium-high heat. Stir to prevent scorching. Cook for 10 minutes after the mixture reaches a furious boil. Turn the heat down if the caramel is threatening to boil over no matter how much you stir. (Will not be a problem if you use a 4-qt pot.)

Off-heat, stir in:
Make a slurry with a pinch baking soda, 1/4 t. cornstarch, and 1 T. vanilla or almond extract. Expect some foaming when you stir it in gently. Return to heat and cook until the sauce coats the back of a spoon – another 2 minutes or so. Strain and rapid chill using an ice bath if you want to use the caramel right away. (NOTE: the cornstarch is to prevent syrup from precipitating to the bottom, as it has in the photo.)

To package for gifting, strain the hot caramel into prepared jars and boiling water process for 10 minutes.*

YIELD: Makes 2 half-pints with some leftover for immediate use.

To serve, stir before use, then simply pour or spread it over anything you fancy: filled crêpes, on warm biscuits, sliced pears or apples, on ice cream or cheesecake. For warm goodies, be sure to pull the dulce de leche from the fridge while you prepare your pancakes, waffles,… so it's not too chilly on your teeth.


CHEF TIP: Toss your sliced pears and apples in honey water to prevent browning before serving, about 2 T. honey to a cup of water.

*I can't tell you that canning the caramel sauce will make it shelf-stable for a year, but it does give that satisfying POP when you open the jar, the POP that tells you, "This product was carefully made and is Good to Eat."

While this recipe is very American, I favor ones that are given in grams. Like this one! Chocolate Dulce de Leche Cake

August 26, 2013

Strawberry Preserves: A Small-Batch Recipe

Forget the white sugar. Use honey instead!

Strawberry Preserves

From Putting It Up With Honey: A Natural Foods Canning and Preserving Cookbook by Susan Geiskopf

Yield: 4 half-pints

1 qt. stemmed strawberries
3 c. light honey
1/2 c. lemon juice

Combine berries and honey. Let stand 3-4 hours. Bring slowly to a boil, stirring occasionally until honey fully dissolves. Cook rapidly until thick, about 20 minutes. Add lemon juice and cook 10 minutes longer. Spoon into hot sterilized jars. Seal and process in a boiling water bath for 15 minutes.

February 11, 2013

Bee Sting Cream

A MOISTURIZING HAND & BODY LOTION for use before and after a visit with the bees.
"Calendula flowers rubbed into beestings are said to relieve the pain."
– Rodale's Illustrated Encyclopedia of Herbs
  • Made with light, moisturizing oils and cooling distilled water – feels great even if you haven't been stung. 
  • Pure beeswax and vitamin E for skin repair.
  • Barely scented with essential oils of lemon, lemongrass, rosemary and clove bud.
Clove oil is reported to both prevent stings and numb the pain of a bee sting. Some associate the scent with a trip to the dentist, where clove oil has historically been used to numb pain, so upon request, I make this cream with other aromas or unscented.

November 07, 2011

Shea Butter Soap

Shea Butter Guest Soaps
Inspired by a simple recipe in The Everything Soapmaking Book, I custom-make my soaps with moisturizing shea butter and beeswax for its emolliency. I love the luxurious lather, that is creamy and silky at the same time.

Shea Butter Soap
10 oz. light olive oil
6 oz. coconut oil
1 T. shea butter
6 fl. oz. water
2.25 oz. lye (NaOH)
1 T. fragrance oil (optional: I highly recommend Brambleberry's Fresh Zucchini Flower)

Technique: cold process
Target temps: 110–150°F (higher temp* if using beewax or small molds)
Mold requirements: 3 cup capacity
Time in molds: 48+ hrs
Time to maturity: 4 weeks

Final Results: 16 guest-size moisturizing bars
Color: creamy white
Aroma: softly floral
Lather: low

*High temperature encourages faster trace. Hand whisk to ensure complete emulsification/thorough saponification. Have simple molds ready. If you use a stick blender and wind up with a heavy trace, the batter may be too thick in detailed molds.

November 08, 2010

Still Blooming: Calendula

With an overnight low of 29°F, we FINALLY had our first frost and the calendula is still blooming. An isolated cold night that brings on Indian Summer a month late, it's a thought-starter for cold-weather projects. While the bees "slumber" through Winter, the beekeeper gets to play with the honey and wax harvested from the hive earlier.
First Batch of Soap: Beeswax & Propolis
It's amazing how much kitchen equipment comes in handy when you're a beekeeper. Things like the $180 electronic scale, a drawer full of thermometers, rubber spatulas, etc. Still I found myself buying new mixing bowls – neat ones with pouring spouts – just for this project.

I highly recommend a book like The Everything Soapmaking Book or taking a class on soapmaking to learn important things like: everything must be weighed out, lye is super caustic, what trace looks/feels like. Then, as with all exercises in the kitchen, once you understand the technique, every recipe becomes simple.

Beeswax & Propolis Soap adapted from Elaine White's "Soap VIII - Beeswax Castile"
16 oz. olive oil
1 oz. palm oil
1 oz. beeswax
2.1 oz. lye
8 oz. water

Technique: cold process
Melt the beeswax with the fats.
Fat and lye/water temperature about 150°F
Tracing time: close to an hour if stirring by hand, much faster with a stick blender
Mold requirement: 4-cup capacity
Time in molds: 48 hours
Time to maturity: 6 weeks

DON'T MELT YOUR MILKYWAY MOLDS! They can warp at 145°ish.

NOTE: The high temperature (required because of the beeswax) can encourage fast trace. Whisk by hand to start the emulsification and finish by pulsing with a stick blender. Using just a stick blender, the batter may reach trace so fast that the lye solution is not distributed properly. Be sure your batter is thoroughly emulsified and have simple molds ready in case the trace is thick. You may not be able to use highly detailed molds. As long as the beeswax is completely melted, you can blend at a cooler temp to slow down the process and use intricate molds. I wouldn't go lower than 130°F though, as the high percentage of beeswax can create a false sense of trace.

Final Results: 5 Queen Bee bars and a couple dozen small guest soaps
Color: cream
Aroma: neutral
Lather: low

Why shoot for 150°F?

February 23, 2009

Lavender Hand Cream


Speckled with propolis, the beeswax-fortified
cream smells divine.
A couple of weeks before starting this recipe, make an oil infusion by filling a jar with herbs and cover with oil by an inch. We use lavender petals painstakingly separated from the sepals. Set on a sunny windowsill to steep.

This small-batch recipe makes a fairly firm hand cream or body butter. For a firm finished product, be sure to stir the hot mixture with a spoon to cool but pour it into your containers before it begins to set. This helps to keep the propolis in suspension, otherwise it will sink to the bottom before the cream sets. Sometimes I use silicon or tart molds to make bars of solid lotion or Guest Creams. These a great for massages.

For a fluffy cream, beat continuously as the mixture cools and thickens, then spoon into containers. You can make a larger batch and use a stick blender to "cream" the mixture, or use a stand mixer with paddle/whip attachment with a really large batch, to get air into it. I like small containers for the fluffy stuff, like these mushrooms from Elements.

Hand Cream, Body Butter or Lotion Bars
Melt together, using gentle heat:
1/3 c. oil infusion, strained - for a soft cream, increase the base oil to 1/2 c.
1 T. coconut oil
1 t. palm oil


Stir in, off-heat:
1 oz. beeswax
6-8 drops of essential oil
, optional
Pour into molds or a 1/2 c. container and let cool.

Notes:
• It barely takes any heat to melt the oils together. Do not let the wax boil; this can make it brittle.
• We used evoo as the base oil, which leaves the skin slightly slick. Almond oil is a lighter oil that penetrates deeper and is also very good for dry skin.
Or pick from the oils described here.
• Spectrum Naturals shortening is 100% expeller pressed palm oil.
• The cream will shrink as it cools. The hotter it is when you pour, the more it will sink in the middle.

#tobehonest: this recipe is an adaptation (i.e.: oops!) of the recipe "Jeanne's Hand Cream" in The Backyard Beekeeper by Kim Flottum. I miscalculated the measurements when scaling down. Even so, I do not believe the original recipe (which is anhydrous) would turn out as pictured in the book (which appears to be hydrous).